Hello there! Have you treated yourself to any of these wonderful floral designs by Jayne Nestorenko yet? Groovi plates or stamps; you know you need them! For now, I wanted to share a little piece of art I created using the beautiful new agapanthus stamp set.
I'm going to concentrate on the frame first. I wanted to get a proper gilded frame effect, so I did a little test piece first, to make sure my idea would work out. And yay! it did! So here goes..
I stamped the frame and swirls into place onto stencil card using black archival.

Then I cut out the frame.
Next, I started to apply glossy accents to the areas of the design that I wanted to appear raised. This stage required a bit of patience as I had to work in stages and leave plenty of time for it to dry.
Its very difficult to photograph, but I hope you can see in the details below. I didn't stress too much if it wasn't quite perfect, as all I'm trying to do is create raised areas.


Once dry, I washed over with DecoArt paynes grey acrylic.

To add a greater sense of dimension to the frame, I went around the inner edge of the frame with another coat. What I really love about this paint is that its transparency allows the stamped detail to show through.

The glossy accents resists the paint.

Let it dry thoroughly; then very, very gently so you don't overcook it, apply silver gilding wax. The raised areas will pick this up and the whole piece will take on a metallic sheen. Keep going until you achieve the lustre you want.

You can buff it lightly with a soft tissue too which will really bring out the sheen.

Now to concentrate on making the actual picture.
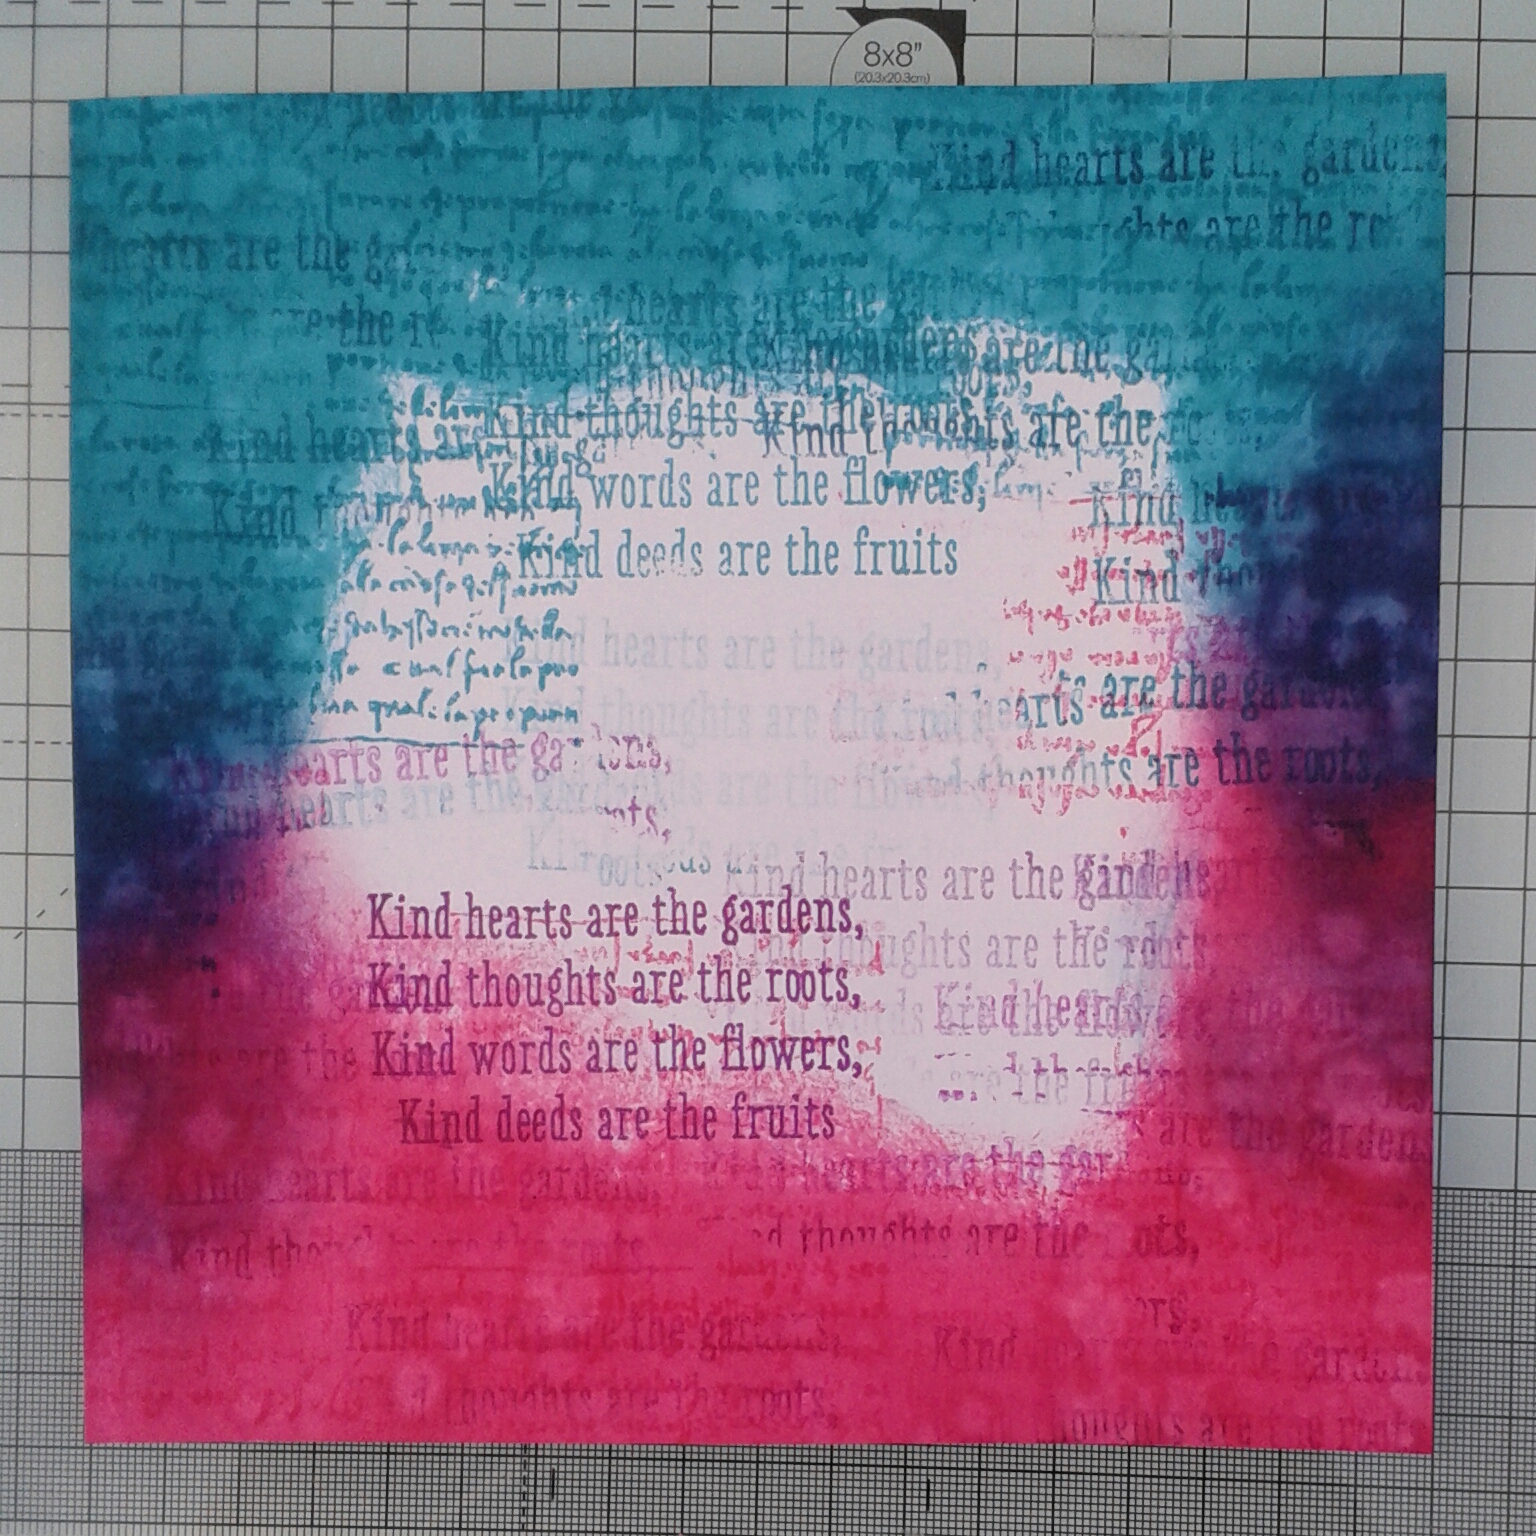
I made the background using antique linen and old paper distress inks; first splodging onto my blending mat and spritzing with water, then "free" stamping (without a mount), in the same colours to add texture.

As well as this piece on stencil card, I also did the same on some paper that I could use for my decoupaged agapanthus.
The flower was stamped in black archival and coloured with my gorgeous new Faber Castell polychromos; the most fabulous present for my 50th birthday from my husband Martin. I've just reorganised my craft room, so they can take pride of place. I love looking at them, stroking them and using them!

Preparing the layers for the decoupage involved a lot of very intricate fussy cutting, which I quite enjoy doing, although it was very fiddly.


The final touch was to add a little angelina fibre and film butterfly.

I mounted the finished piece onto some foam board. I hope you like it.

Jayne's beautiful designs are a pleasure to work with, and I have a sneaky feeling that at least one more of the sets may fall into my shopping basket at Leyburn on Saturday.
I am so looking forward to catching up with Barbara and all the Clarity team, and loads of Clarity friends. Its sure to be a great day. Till next time. Xxx


