Monday, 13 February 2017

Ballroom dancing

Hello there.  Blogging again, I hear you say?  I'm definitely on a roll at the moment!  Aren't these new dancer stencils fab?  This one in particular really evokes all the glamour of the ballroom, something I tried to capture in my samples.

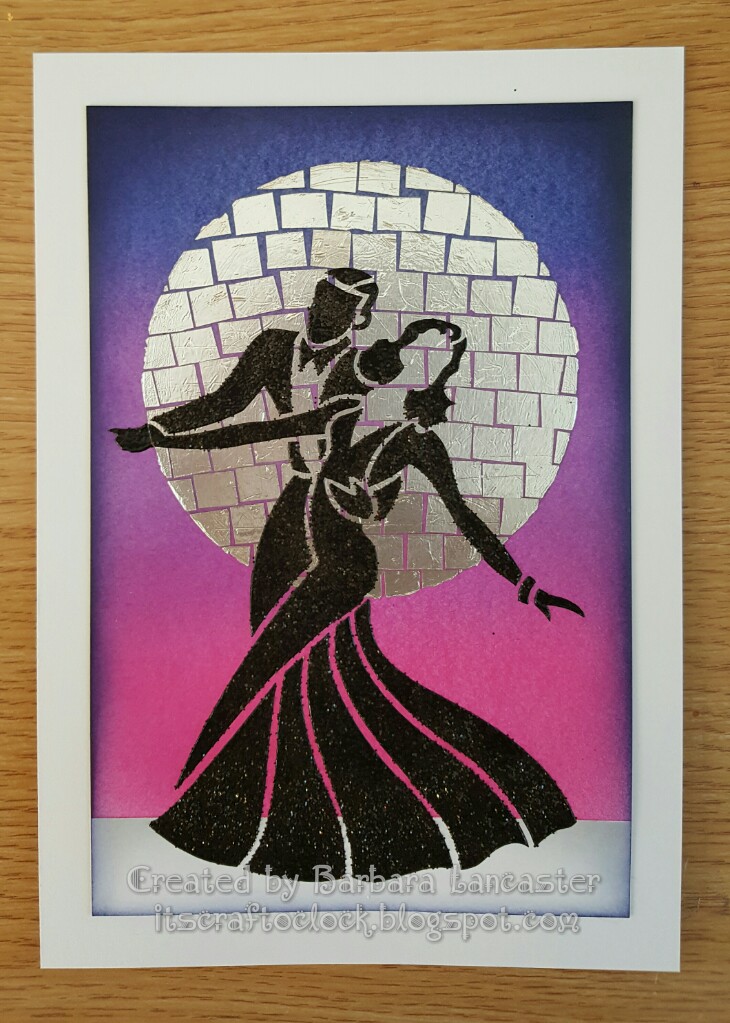
For this first one I used picked raspberry, wilted violet and blueprint sketch distress inks and built up the background colour gradually with my Clarity stencil brushes.  It does take quite a bit of time to build up this intensity of colour.  I went round the edge with black distress ink and a blending tool.  I think I might have added a bit of chipped sapphire as well to add even more drama.

Then I started work on the large "glitterball" moon.  I cut out a large circle of double sided adhesive sheet and stuck it into place.  Then, working across a row at a time, stuck the squares of kitchen foil into place.  Buff up when finished, and brush on a little talc to de-tack any exposed adhesive.

All that was left to do was to put the dancers in place.  I always feel a bit nervous when I've done so much work on a project and am about to tackle the final make or break stage.  This time, I got a beautiful crisp image with the black embossing paste and sprinkled on some black distress glitter for a really luxurious effect.

The piece below was done using one of the new Claritystamp designer papers.  I used the softer, more muted side of this particular design as my background.  

I made a paper mask of the stencil design to allow me to overlap the dancing couples.  It took me quite a while to decide on the colour to use for each of the couples as I wanted each one to be different, but still co-ordinate with each other; and tone in with the background too.  I sponged purple ink through the couple at the front;  this would add a barely noticeable shadow once I paper pieced the design, and also provide the much needed guide for accurate placement of each of the pieces.  However, I didn't do the paper piecing until the rest of the design was complete.  Cover the first couple with the paper mask, reposition the stencil and sponge through blue ink.  Repeat this step with pink ink for the third couple.

Add some definition round the edge with a blending tool and purple ink.

Using the other side of the same designer paper, I paper pieced the first couple.  Simply mounted onto white card to finish. 


I hope you like them.  Thanks for visiting.  See you again soon.  Till next time.  Xxx

Saturday, 11 February 2017

Colourful dancers

Hello there.  Woke up this morning to a light dusting of snow, but its raining now and the skies are grey.  So what better than a colourful piece of art to brighten the day?

So here goes with another of my DT samples using the lovely new Claritystamp dancer stencils.  If I had to choose, then I think this one is  my favourite.

Difficult to see in the photo, but I started by embossing the stencil onto a sheet of watercolour paper.


Using this faint outline as a guide, I painted the dancers with masking fluid.


Once the masking fluid was dry, I started to layer up washes made with diluted acylic paint.  I used this rather than distress inks because I wanted the colours to remain true rather than blending together.


I left each layer to dry naturally before adding the next.  I even added some rock salt to some layers while the paint was still wet for extra texture.


I love how you can get blends where the colours overlap even though the actual paints haven't mixed together.  I then sponged some archival inks through the words stencil in the same colours.


A few little stars and splattered on some extra paint too.  Rubbed off the masking fluid to reveal the dancers still white beneath.


Just added some definition with a couple of grey pencils and simply mounted onto a white card.


Hope you like it.  Till next time.  Xxx

Monday, 6 February 2017

Bursting with colour

Hello there!  We are already in February, and I really want to try and blog more often this year.  It's not always easy to find the time, but I do love coming on here to show you my latest projects and chat about what I love doing most:  making art.

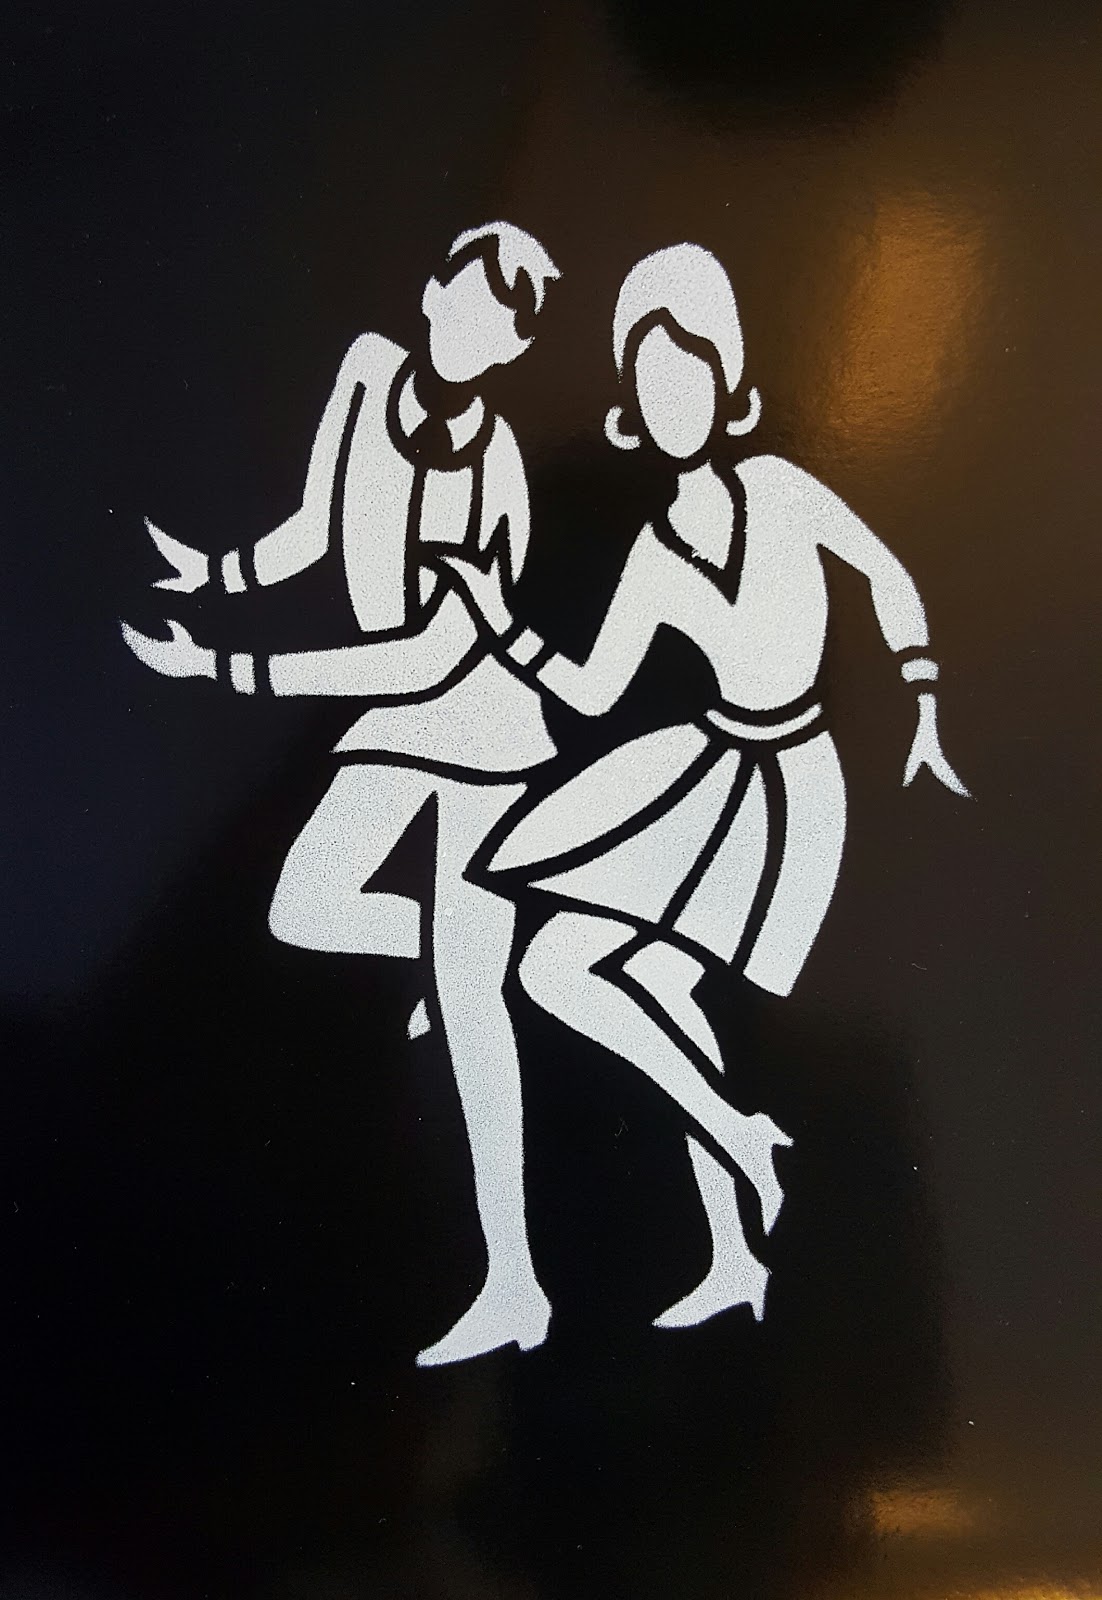
Here is the first of my samples from Barbara Gray's Claritystamp show on Hochanda yesterday afternoon.  I absolutely love these stencils, and had so much fun using them.  

Today I'm going to share a technique I love to do using Colour Bursts.  This is the first time I've tried it out on black card though, and I'm happy to report it worked.

I used the coated black Clarity card and sponged Paperartsy Fresco Finish acrylic in snowflake through the stencil.  You can see below that it's better to go gently and build up the coverage in layers.


This gives a nice crisp design;  just what we want.


Make sure the paint's dry;  it only takes a couple of minutes, then replace the stencil and pull through clear embossing paste.  While it's still wet, sprinkle on the Colour Bursts;  the moisture in the paste will activate them.  I also added a little sprinkling of glitter, then left to dry.

And here you can see the finished design;  very simple and easy to achieve. 
I'll be back soon with another of my samples.  Till next time.  Xxx